
Licence and updates
Activating Ropenode
Two ways, both in Settings → Licence. Use whichever you prefer; they end in the same place.
Sign in (easiest)
Press Sign in with Ropenode. Ropenode shows a short code and opens your browser at ropenode.com/account/activate. The page tells you which machine is asking — its name, OS and app version. Approve it and the app picks up the licence by itself.
If a code appears that you did not ask for, deny it. That check is the whole point of showing you the machine rather than just a code.
Paste a licence key
Your key is on your Licences page, shaped like RN-XXXXX-XXXXX-XXXXX-XXXXX.
Paste it under I have a licence key and press Activate.
Bought a licence after signing in on this machine? Press Activate this machine to pick it up.
If the key is mistyped, the app says so.
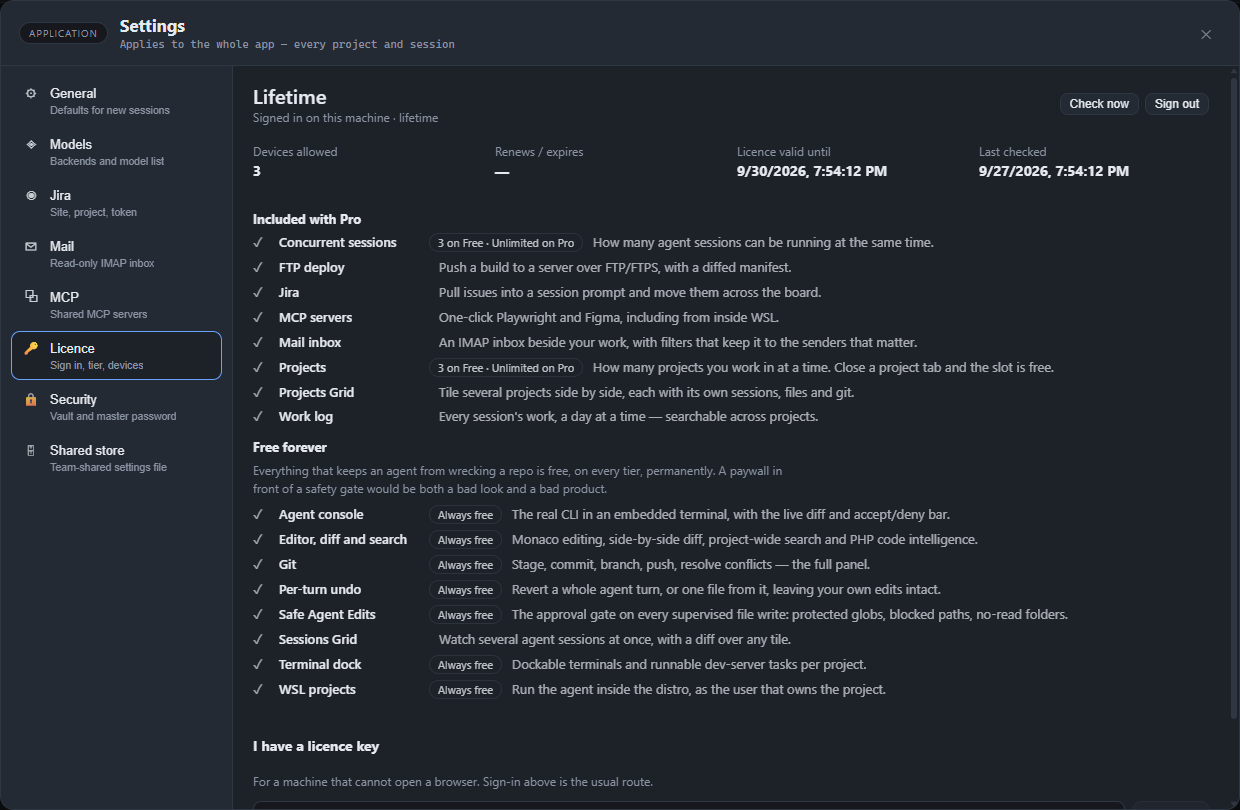
After activating
The licence tab shows your tier, the devices in use, and when the licence was last confirmed. Nothing else changes: no project is unlocked or locked in place, no file moves. The Free limits simply stop applying.
Last updated Oct 11, 2026